

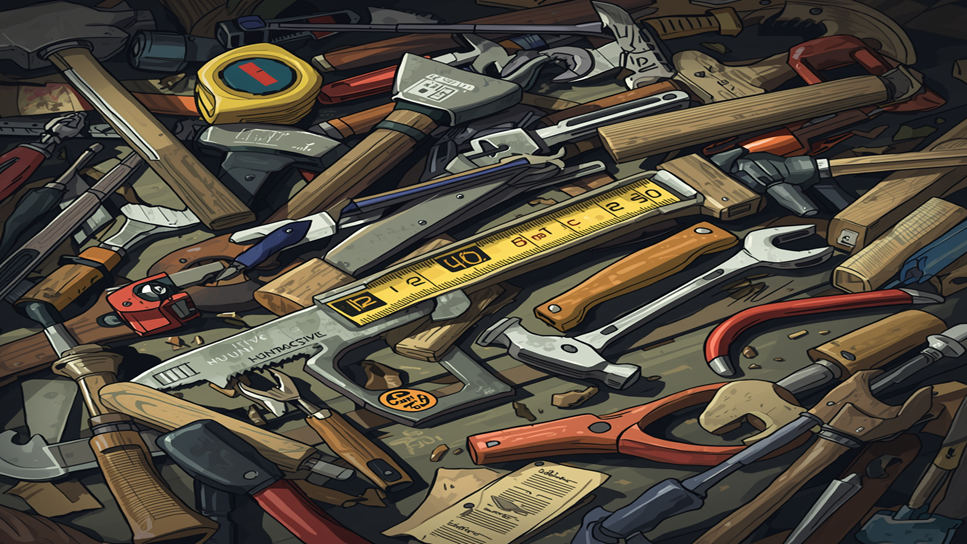
Longbefore cordless drills and electric sanders arrived, human beings constructed architectural wonders, crafted intricate furniture, and shaped civilizations — armed with nothing beyond their hands and a carefully chosen set of manual instruments.
Why Manual Tools Remain Indispensable in the Modern Age
Walk into any professional workshop today, and you will still spot a weathered wooden-handled chisel resting beside digital measuring devices. That coexistence is no accident. Non-power hand tools offer something no motor-driven counterpart can replicate: an intuitive connection between the artisan and the material. Every grain of resistance, every subtle vibration — your hands absorb all of it, granting unparalleled control over the outcome.
It would be easy to dismiss these instruments as relics in an era of lithium-ion batteries and brushless motors. Yet sales of quality manual instruments have grown steadily over the past decade, and not merely among hobbyists. Professional joiners, restoration specialists, boat builders, and surgical instrument technicians all rely on them daily for tasks that power tools simply cannot accomplish with the same fineness.
The reasons are numerous. Precision work in confined spaces often demands instruments that a bulky power tool cannot navigate. Intricate paring cuts on hardwood require tactile feedback that an electric router obliterates. Beyond practicality, manual instruments demand — and develop — genuine skill. The craftsperson who masters a hand plane understands wood in a way that no machine can teach.
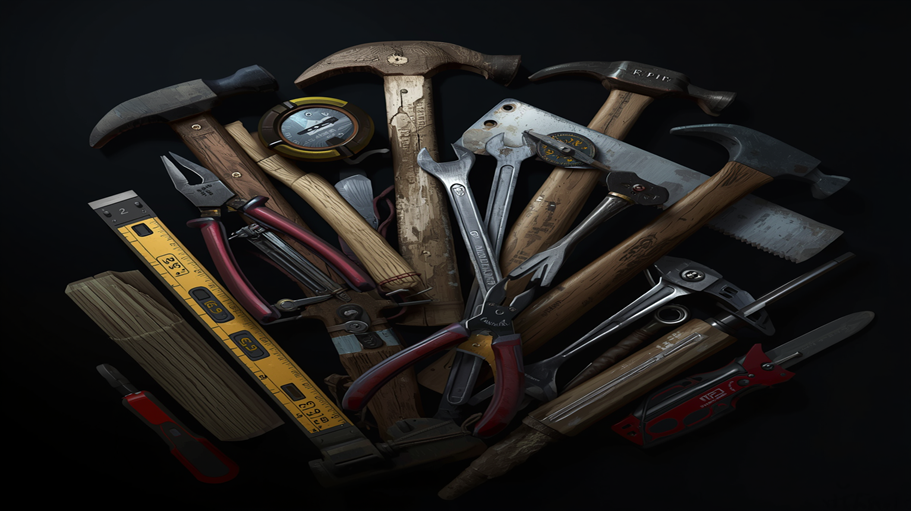
A 2023 survey by the Hand Tool Preservation Society found that over 78% of professional woodworkers still use manual instruments for finish work, regardless of how many power tools they own — underscoring the irreplaceable role of hand-guided precision in fine craftsmanship.
The Six Primary Categories of Non-Power Hand Tools
Understanding the landscape of manual instruments begins with recognizing how they are grouped by function. Each category addresses a distinct workshop need, and a well-rounded toolkit draws from all six.
| Category | Primary Function | Typical Examples |
| Striking & Driving | Delivering controlled impact force | Claw hammer, ball-peen, mallet |
| Cutting | Severing and shaping materials | Hand saw, tenon saw, hacksaw, coping saw |
| Fastening | Driving and removing threaded fasteners | Screwdrivers, nut drivers, Allen keys |
| Measuring & Marking | Establishing accurate dimensions and layout lines | Tape measure, combination square, marking gauge |
| Gripping & Clamping | Holding, turning, and securing components | Pliers, adjustable wrench, G-clamp, bar clamp |
| Shaping & Finishing | Refining surfaces and material profiles | Bench chisel, hand plane, rasp, file |
Striking & Driving Instruments: Force with Finesse
The act of driving a nail appears deceptively straightforward. Selecting the correct striking instrument for a given task, however, separates a professional result from a sloppy one. Hammers are categorized primarily by their head weight — measured in ounces or grams — and the geometry of their striking face.
Claw Hammer
Arguably the most universally recognized hand tool on earth, the claw hammer serves a dual purpose: driving fasteners and extracting them. The curved claw creates mechanical advantage when pulling nails, while the face — either milled for grip or polished for finish work — determines how cleanly it seats a fastener. Head weights for general framing typically
fall between 16 and 20 ounces; finish carpenters often prefer a lighter 12-ounce model.
Ball-Peen Hammer
Metalworkers and mechanics reach for the ball-peen when shaping metal, riveting, or striking punches and chisels. The rounded peen distributes force differently from a flat face, making it ideal for peening — the deliberate spreading of a metal surface to create a mechanical lock. Unlike the claw hammer, the ball-peen is specifically designed for metalworking applications where a steel-on-steel impact is both expected and required.
Mallets: Rubber, Rawhide & Wood
Where a steel face would dent or damage a finished surface, a mallet absorbs energy and distributes impact gently. Joiners use wooden mallets to drive mortise chisels without splitting their handles. Automotive technicians employ rubber-faced versions when seating parts that cannot tolerate concentrated steel impacts. Rawhide mallets occupy a middle ground — firmer than rubber but far less aggressive than hardwood or steel.
| 🌿EXPERT TIP When driving chisels with a mallet, let the weight of the head do the work rather than swinging aggressively. A controlled, repeatable strike produces cleaner cuts and significantly reduces the likelihood of splitting the chisel handle or fracturing the workpiece. |
Cutting Instruments: Precision at Every Stroke
Cutting by hand demands patience — and rewards it generously. A sharp blade guided by a skilled hand can follow curves, navigate tight corners, and produce kerf lines of remarkable fineness. Understanding the geometry of each cutting instrument is essential before attempting any serious project.
Crosscut Saw vs. Rip Saw
These two workhorses address fundamentally different challenges. A crosscut saw — characterized by knife-shaped teeth angled to sever wood fibres cleanly across the grain — produces crisp, splinter-free edges on face cuts. A rip saw, by contrast, bears larger, chisel-like teeth designed to channel through timber along the grain, removing material rapidly in the direction of the fibres. Using a rip saw across the grain, or vice versa, dramatically increases effort while degrading cut quality.
Tenon Saw (Back Saw)
Fitted with a stiff brass or steel spine along the non-cutting edge, the tenon saw sacrifices depth of cut in exchange for exceptional rigidity. This makes it the preferred instrument for joinery work — cutting tenons, miters, and dovetails — where accuracy matters far more than speed. The reinforced back prevents the blade from flexing, ensuring the saw tracks in a straight and consistent line throughout the cut.
Coping Saw
With its slender, interchangeable blade stretched across a deep C-shaped frame, the coping saw navigates curves and intricate profiles that no straight-bladed instrument could follow. Cabinetmakers rely on it for scribing trim to irregular walls; decorators use it for cutting ornate shapes in thin board. The blade can be rotated relative to the frame, allowing the craftsperson to maintain a comfortable body position while cutting in any direction.
Hacksaw
The hacksaw’s fine-toothed blade — typically 18 to 32 teeth per inch — chews through metal, plastic, and composite materials with controlled aggression. Plumbers use it to trim copper pipe; electricians cut conduit; mechanics section threaded rod. Blade selection is critical: fewer teeth per inch for thick metal stock, more for thin sheet material where multiple teeth must always remain in contact to prevent the blade from snagging and snapping.
| 🌿EXPERT TIP Blade Tension: A loosely tensioned hacksaw blade wanders and flexes mid-cut, producing an inaccurate kerf. Always verify that the blade is taut enough to produce a clear ringing note when plucked lightly. Proper tension is the single most overlooked factor in achieving a straight, repeatable cut with this instrument. |
Measuring & Marking Instruments: The Foundation of Accuracy
A flawed measurement cascades into every subsequent step of a project. The seasoned tradesperson measures twice — sometimes three times — before committing a pencil line to a workpiece. Investing in quality measuring instruments, and understanding how to use them correctly, pays dividends for the lifetime of a workshop.
| Instrument | Primary Application | Accuracy | Best Application |
| Tape Measure | Linear length and distance | ± 1 mm | Construction, site work |
| Combination Square | 90° and 45° angles, depth | ± 0.5° | Joinery, cabinetry layout |
| Marking Gauge | Scribing parallel lines | ± 0.2 mm | Mortise & tenon layout |
| Vernier Caliper | Internal/external dimensions | ± 0.05 mm | Metalwork, precision fitting |
| Spirit Level | Horizontal/vertical trueness | ± 0.5 mm/m | Installation, tiling, framing |
| Sliding Bevel | Transferring & repeating angles | Variable | Stairs, compound joints |
The Marking Knife vs. the Pencil Debate
In cabinetry circles, no debate ignites more passion than pencil versus marking knife for layout lines. A sharp marking knife severs the uppermost wood fibres as it scribes, creating a crisp reference groove that a chisel or saw can register precisely against. A pencil line, however clean it appears, measures several fractions of a millimeter wide — enough to compound errors in complex joinery. For demanding precision work, the marking knife prevails. For rough framing and general site work, pencil speed wins.
Gripping, Turning & Clamping Instruments
Pliers, wrenches, and clamps are the mechanical extensions of human grip. They amplify the force your hands can apply, expand the range of shapes they can hold, and multiply the angles from which you can work. Understanding the differences between closely related instruments prevents stripped fasteners, damaged surfaces, and frustrating project delays.
Pliers: Combination, Needle-Nose & Slip-Joint
Combination pliers — the standard flat-jawed variety found in virtually every toolbox — handle gripping, bending, and light cutting tasks capably. Needle-nose pliers navigate tight spaces in electrical and electronics work. Slip-joint pliers expand their jaw opening at a pivot point to accommodate larger workpieces without the need for a dedicated adjustable wrench.
Open-End, Box-End & Combination Spanners
The open-end spanner slides onto a fastener from the side — fast to apply, but prone to rounding if the fit is imprecise. The box-end completely encircles the fastener head, providing maximum contact and dramatically reducing the likelihood of slippage under high torque. The combination spanner grants both options in a single instrument: open-end on one side, box-end on the other, making it the most versatile option for general workshop use.
Clamps: G-Clamp, Bar Clamp & Spring Clamp
Clamps are often called the third hand of the workshop — and with good reason. The G-clamp applies concentrated, high-pressure force over a small area, making it ideal for gluing small components or holding workpieces securely to a bench. Bar clamps span wider assemblies with adjustable jaws that slide along a steel bar. Spring clamps provide quick, one-handed operation for light holding tasks where speed matters more than maximum force.
| 🌿EXPERT TIP Clamp Placement: When gluing up a panel, distribute clamps no more than 150 mm apart to avoid glue-starved gaps at the centre. Place cauls — stiff wooden strips — between the clamp jaws and the workpiece to distribute pressure evenly and prevent jaw-shaped indentations in your freshly prepared timber surface. |
Shaping & Finishing: The Meditative Category
Few experiences in craft equal the quiet satisfaction of a hand plane producing a single, continuous, tissue-thin shaving from a plank of hardwood. Shaping and finishing with manual instruments is unhurried by machine standards — and incomparable in terms of surface quality and the personal connection it forges between maker and material.
Bench Chisels
A set of bench chisels spanning 6 mm to 32 mm addresses the vast majority of paring, chopping, and mortising tasks encountered in typical workshop practice. The quality of the steel determines how long an edge retains its sharpness; the geometry of the bevel determines how the chisel enters the material. Most woodworkers maintain their chisels at a primary bevel of 25 degrees with a secondary microbevel of 30 degrees — a combination that balances edge retention with ease of honing on a waterstone.
Hand Planes: Bench, Block & Router
The hand plane family is astonishingly diverse. The bench plane — particularly the No. 4 smoothing plane and the No. 5 jack plane — handles the bulk of surface preparation. The block plane, with its low blade angle and compact dimensions, excels at end-grain work and chamfering. The router plane reaches into grooves and dadoes to level their floors to a precise, consistent depth that no other instrument can reliably achieve.
Rasps, Rifflers & Files
Rasps remove material quickly with their large, individually cut teeth; rifflers tackle curved and sculpted surfaces with their characteristically curved bodies; files produce smoother results than either, making them ideal for metalwork, sharpening, and refining edges. The cut of a file — bastard, second-cut, or smooth — indicates the coarseness of its teeth and determines both the removal rate and the quality of the resulting surface.
Care & Maintenance: Protecting Your Investment
A neglected hand tool is a liability in the workshop. Dull blades require excessive force, increasing the risk of slippage and injury. Rusty metal surfaces generate friction that degrades precision. A consistent maintenance routine transforms a basic toolkit into a precision instrument collection that outlasts multiple generations of users.
1. Clean After Every Session — Wipe all metal surfaces with a lightly oiled cloth before returning instruments to storage. Resin from pine and other softwoods accelerates rust formation if left overnight on bare steel.
2. Hone Cutting Edges Regularly — A leather strop charged with chromium oxide compound removes the wire edge that forms during honing. Five strokes between tasks keeps blades performing at their best without requiring a full sharpening session on a waterstone.
3. Inspect Handles for Fatigue — Wooden handles develop hairline cracks over time. Check hammer handles especially — a cracked handle can shatter on impact, driving splinters into your hand. Replace compromised handles; repair is rarely safe or sufficiently durable.
4. Store in Low-Humidity Environments — Moisture is the primary enemy of unprotected steel. A dehumidifier, silica gel packets in drawers, or vapour corrosion inhibitor liners in tool bags all significantly extend the rust-free service life of your instruments.
5. Calibrate Measuring Instruments Periodically — Tape measures stretch; combination square blades develop play at the locking collar. Verify accuracy against a known reference at least quarterly, or before any precision project where cumulative error would compromise the final outcome.
Purchasing Guide: Building a Toolkit That Lasts
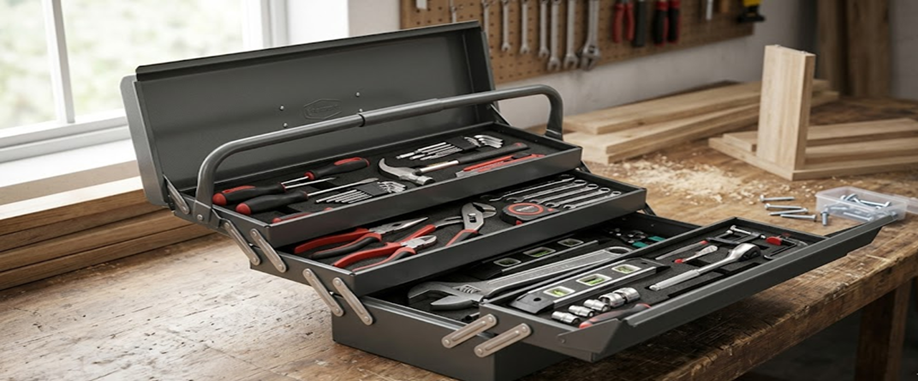
| 💡 Core Buying Principle Purchase fewer instruments of better quality rather than comprehensive sets of mediocre ones. A single excellent chisel that holds its edge and fits comfortably in your hand contributes more to your craft development than a twenty-piece set that dulls after three uses and causes fatigue within an hour of continuous work. |
Steel Quality: The Non-Negotiable Factor
For cutting instruments — chisels, plane blades, saw blades — steel composition directly governs how long an edge remains sharp and how easily it can be restored. High-carbon steel with alloys such as A2 or O1 tool steel outperforms low-carbon alternatives in both retention and ease of sharpening. Look for instruments where the manufacturer specifies steel composition rather than vague terms like ‘high quality’ or ‘professional grade.’
Ergonomics: Designed for Hours, Not Minutes
A handle that suits a brief demonstration in a retail display may prove unbearable after two hours of continuous work. Cylindrical handles of uniform diameter cause grip fatigue; properly shaped handles with a swelled middle and widened pommel distribute load more comfortably across the palm. Where possible, hold the instrument before purchasing — and if buying online, prioritize brands with established ergonomic reputations.
Worthy Brands and Vintage Options
Several manufacturers have maintained exceptional reputations across decades: Lie-Nielsen and Veritas produce bench planes that rival the finest vintage Stanley instruments; Narex offers outstanding chisel value for those starting out; Bahco and Irwin produce reliable hand saws; Starrett remains the benchmark for measuring instruments. Vintage markets — estate sales and specialist online auctions — often yield Stanley, Record, or Disston instruments of extraordinary quality at reasonable prices, provided you inspect them carefully before committing to a purchase.
Conclusion: The Enduring Value of the Human Hand
Non-power hand tools are not a compromise imposed by the absence of electricity. They are a deliberate choice — made by craftspeople who understand that control, feedback, and the development of genuine skill cannot be outsourced to a motor. Whether you are fitting a dovetail joint, trimming copper pipe, marking out a structural beam, or restoring an antique cabinet, the right manual instrument — sharp, well-maintained, and properly selected — will produce results that speak for themselves.
Begin with the essentials: a quality claw hammer, a tenon saw, a set of chisels, a combination square, and a reliable tape measure. Master each instrument before expanding your collection. The depth of skill you develop with a small number of quality tools will serve you far better than a crowded workshop full of instruments you have never truly learned to use.
Blog Tags & SEO Keywords
#Hand Tools · #Non-Power Tools · #Woodworking Tools · #Carpentry Equipment · #Manual Tools Guide · #Chisel Techniques · #Hammer Types · #Hand Saw Guide · #Measuring Instruments · #Workshop Essentials · #Tool Maintenance · #Pliers & Wrenches · #Hand Plane · #Screwdriver Types · #Spirit Level · #Tape Measure Usage · #DIY Workshop · #Craftsman Skills · #Tool Buying Guide · #Trade Tools · #Joinery Tools · #Sharpening Guide · #Metalworking Hand Tools · #Fastening Tools · #Workshop Safety · #Tenon Saw · #Coping Saw · #Hacksaw Guide · #Marking Gauge · #Combination Square · #G-Clamp Usage · #File and Rasp · #Ball-Peen Hammer · #Mallet Types · #Rip Saw vs Crosscut Saw